Guesswork has no place in complex wounds. When you face uncertain wound assessment and delayed healing, precision diagnostics offer clear answers. Learn how tools like MolecuLight DX and rapid molecular testing provide real-time insights that improve treatment decisions and patient outcomes. For more insights, visit this article.
Precision Diagnostics in Wound Care

Precision diagnostics play a crucial role in managing complex wounds effectively. By reducing uncertainty, they pave the way for better healing and improved outcomes.
Advancing Complex Wound Management
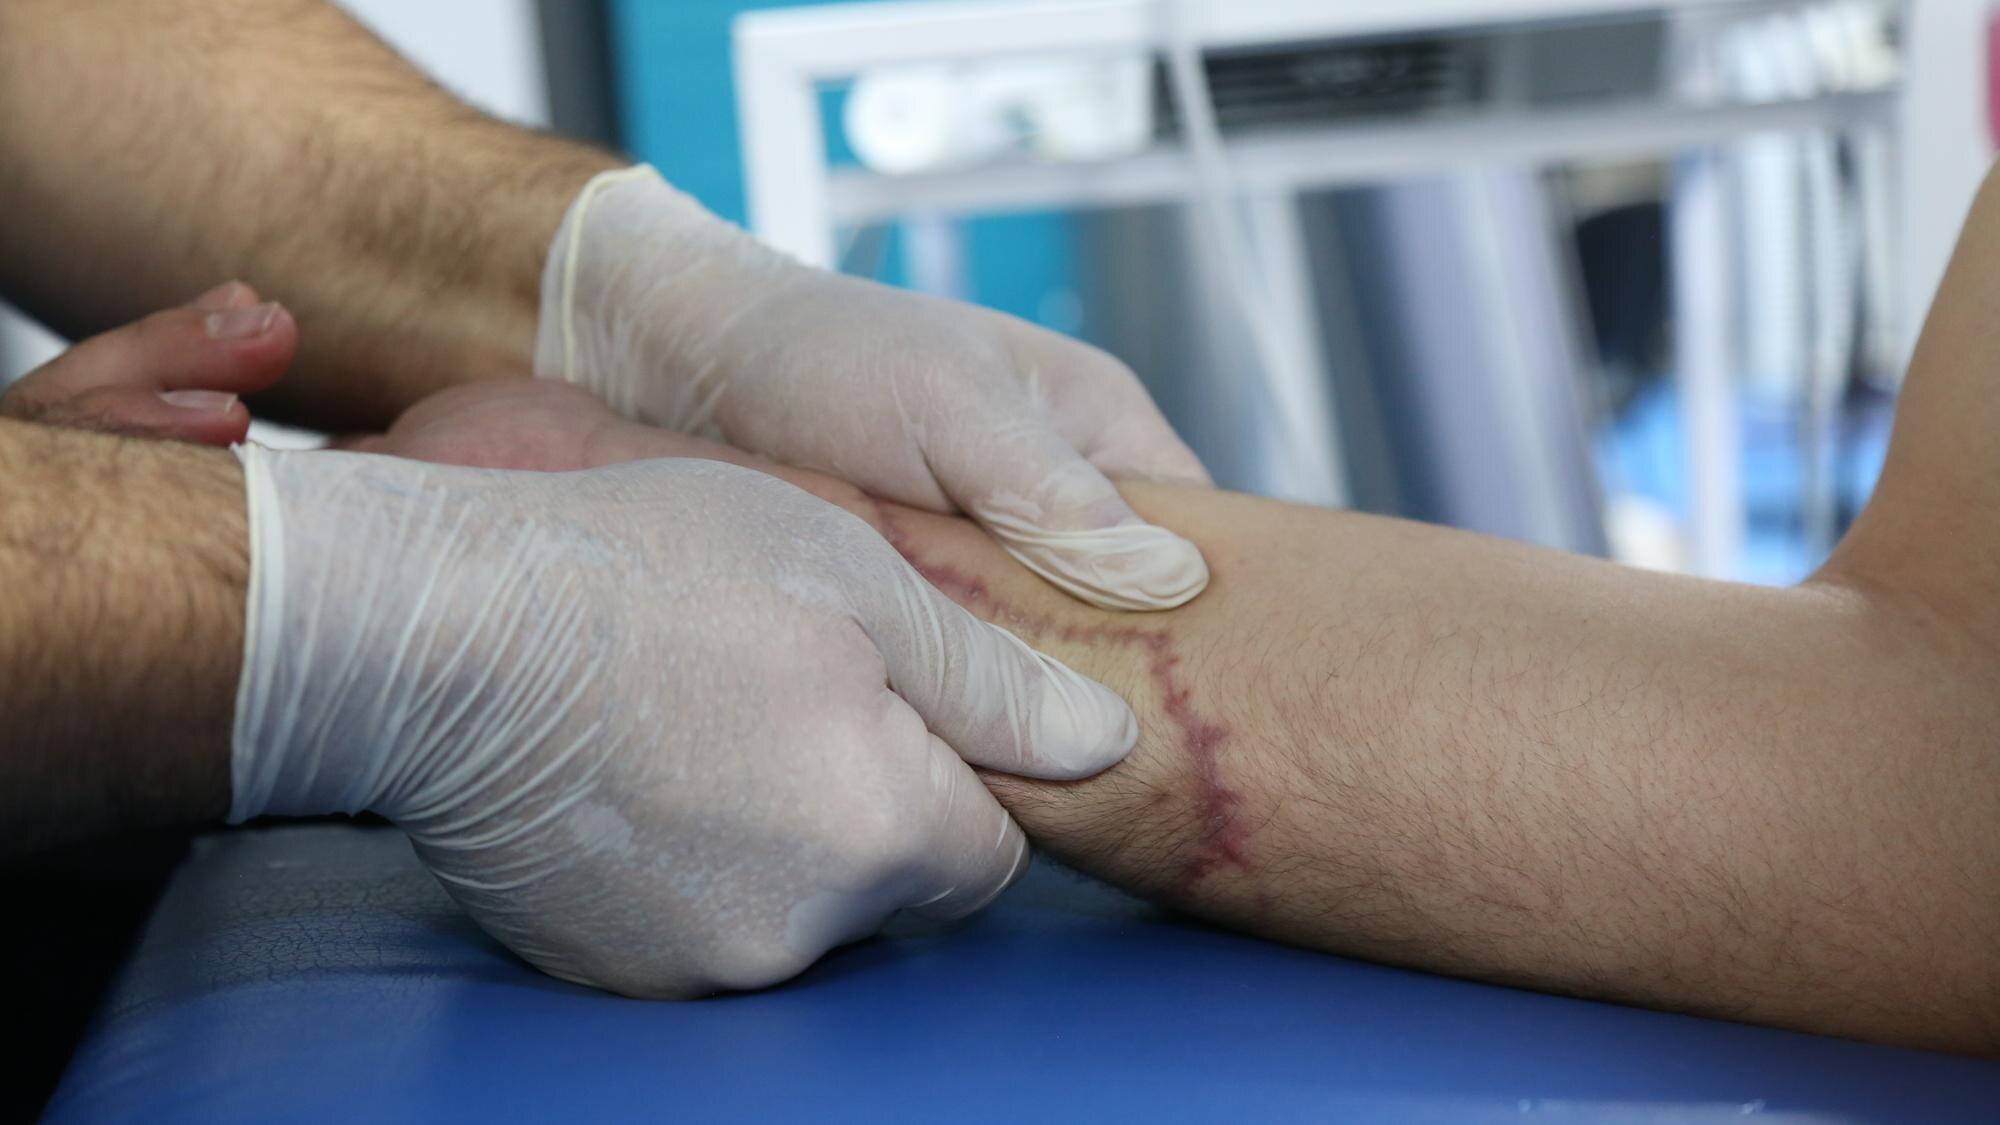
You can transform wound care practices with the right tools. Precision diagnostics offer a glimpse into the wound’s condition, making complex cases more manageable. Clinicians gain critical insights into the wound environment and its needs. This information is vital for crafting effective treatment strategies.
Many healthcare providers have already adopted advanced diagnostics. These tools enable a more precise assessment of bacterial burden and biofilm detection. This leads to targeted interventions that can significantly improve healing rates. Taking the guesswork out of wound management benefits both providers and patients.
Reducing Guesswork with Technology
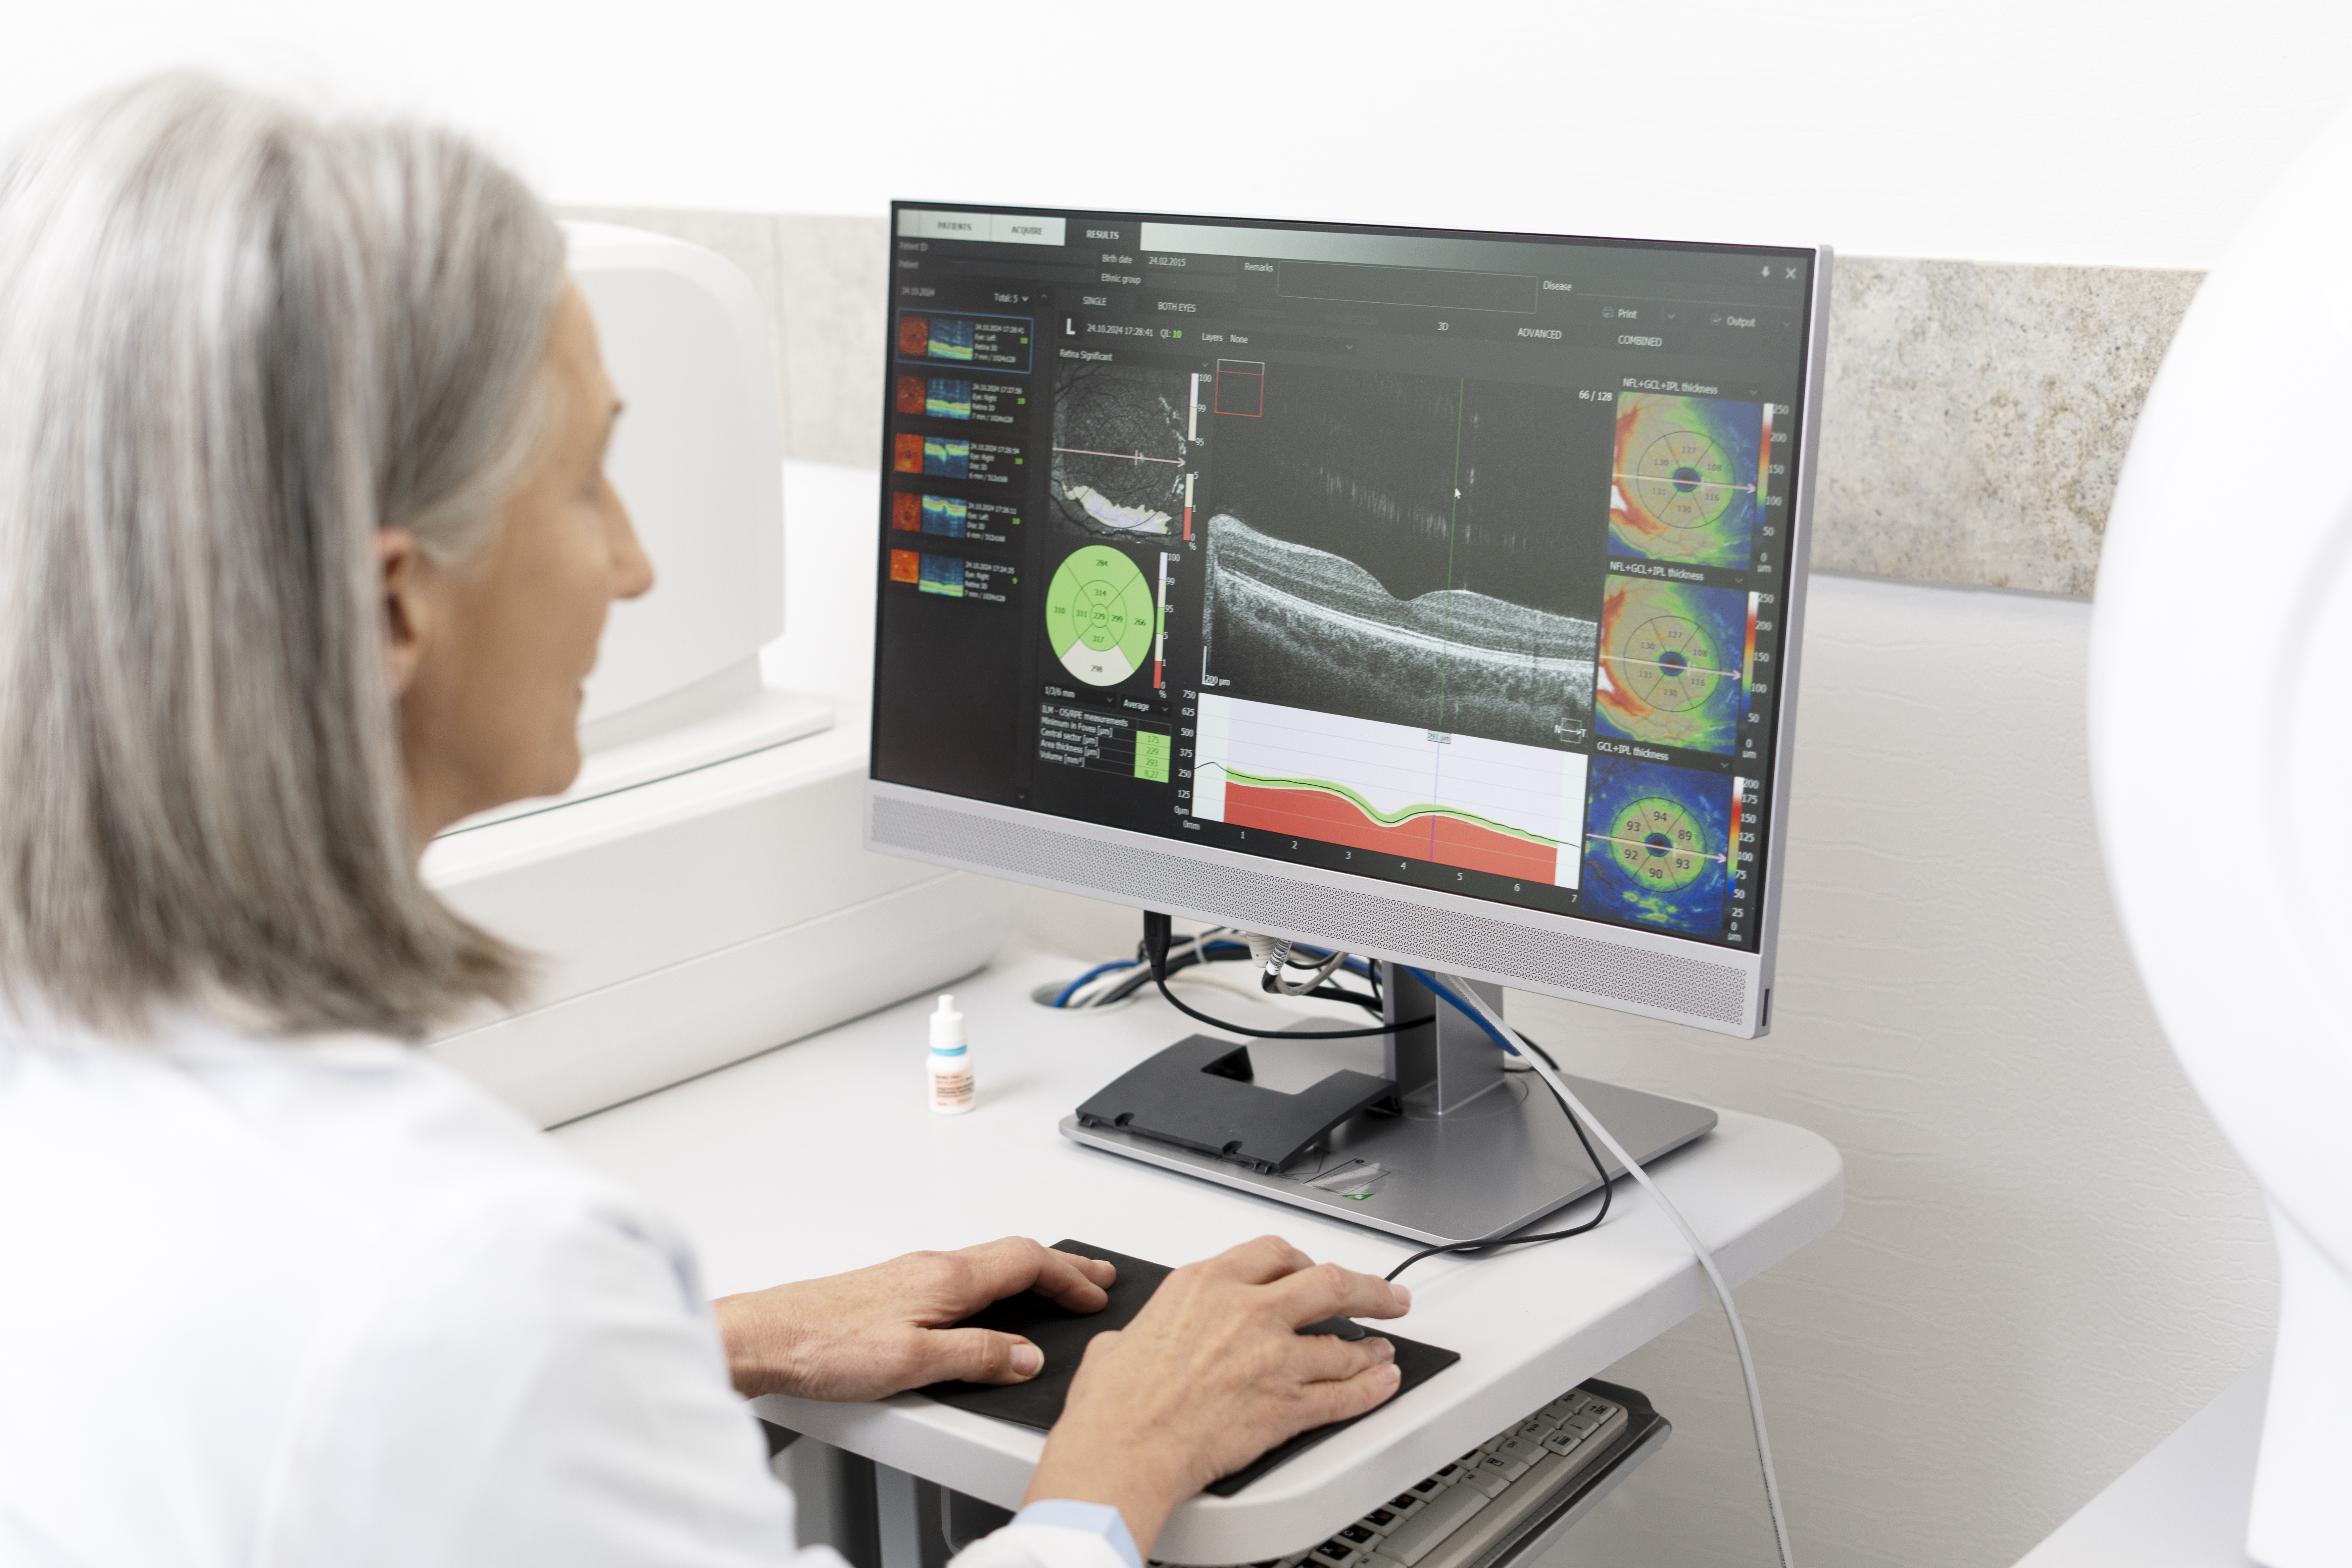
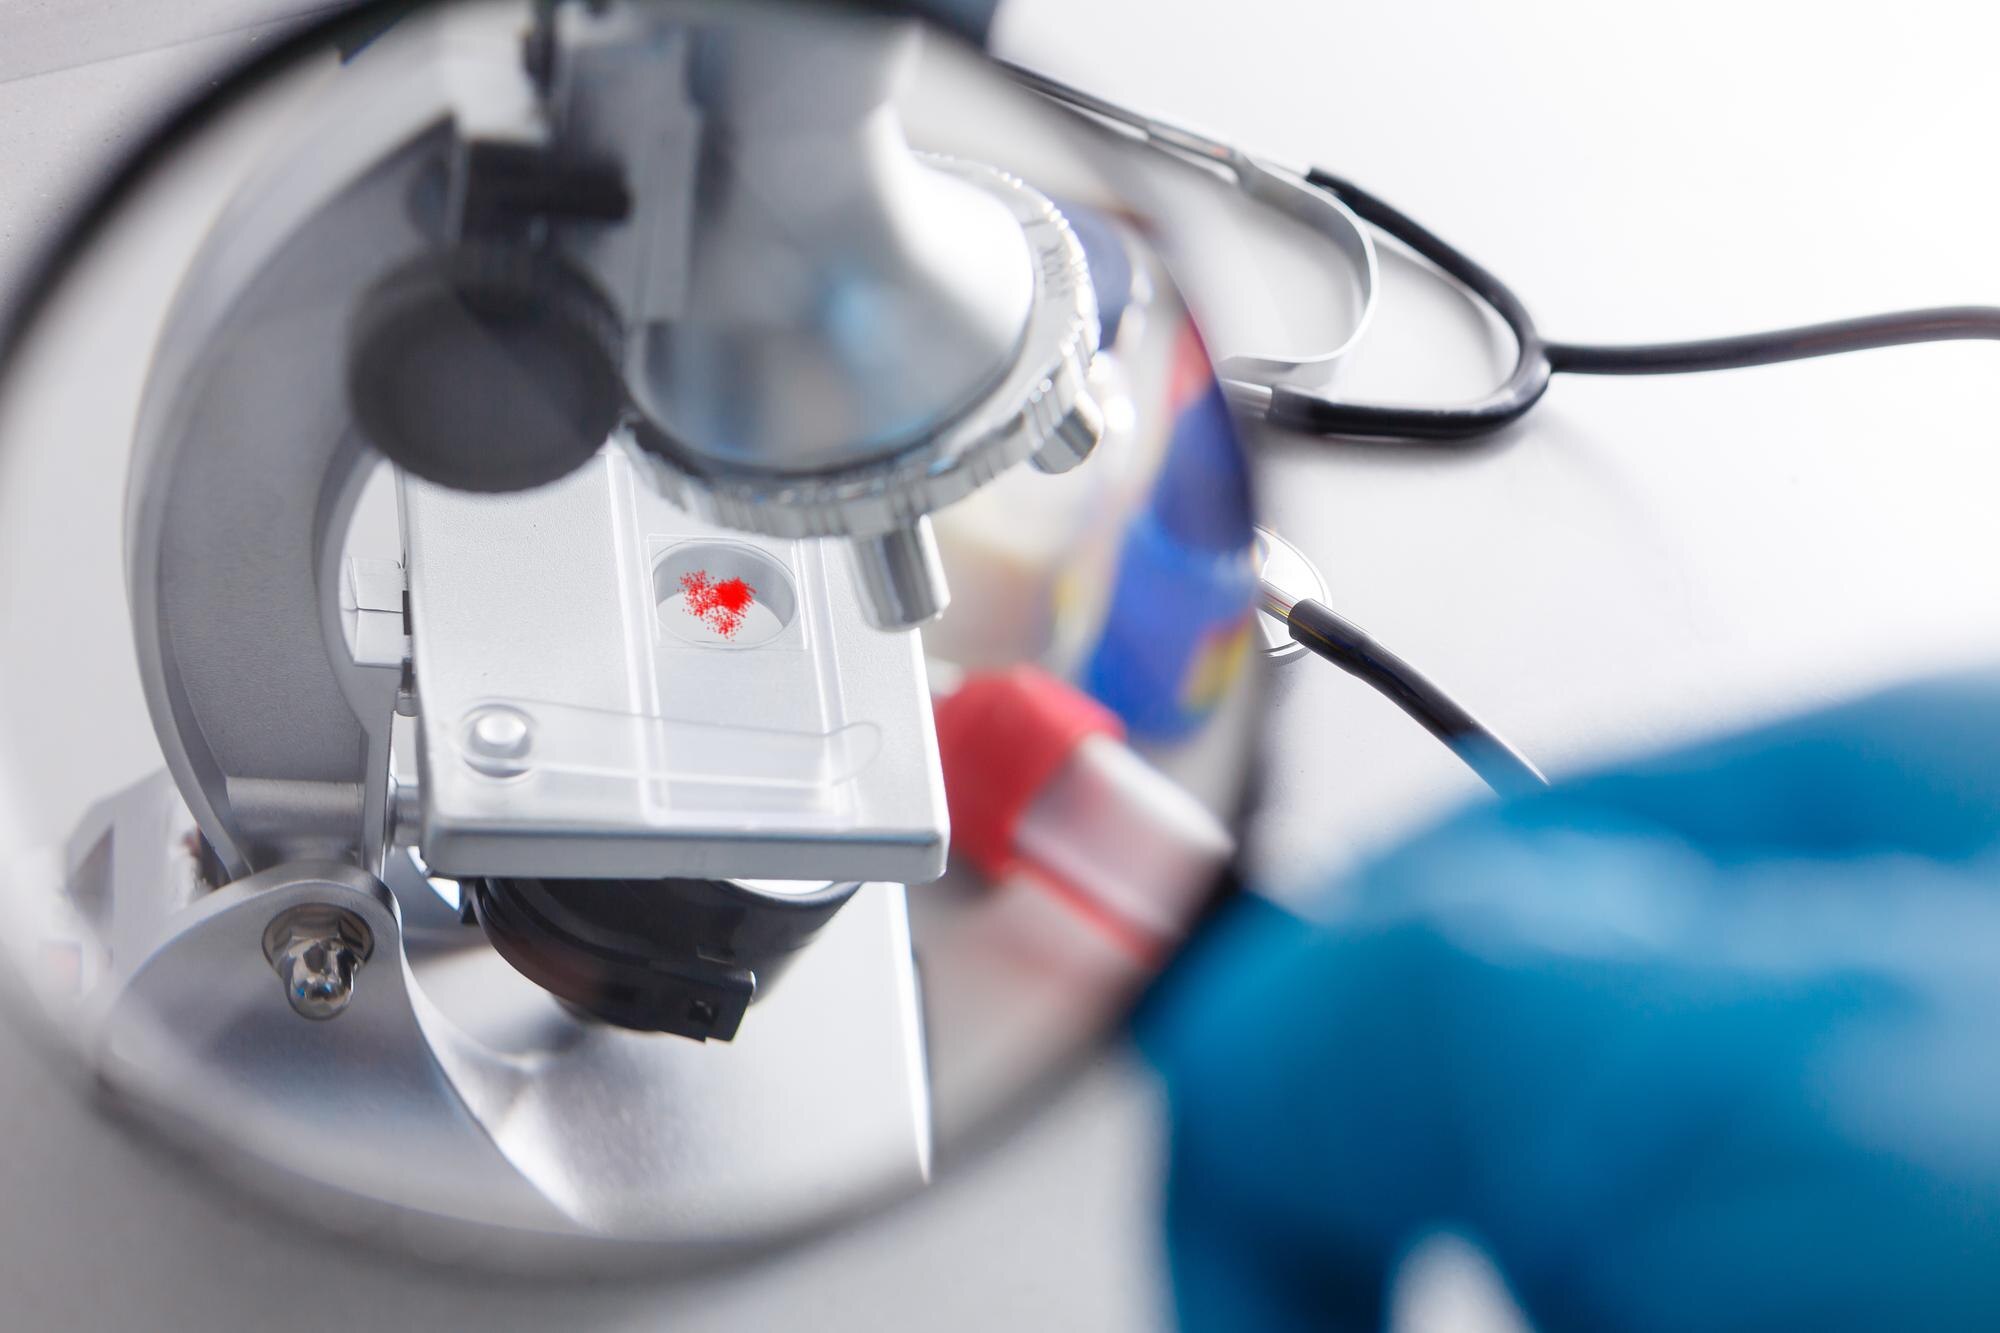
Technology is a game-changer in wound care. It offers a level of precision that traditional methods cannot match. Tools like fluorescence imaging provide real-time data. They help identify bacterial hotspots quickly, guiding you to make informed decisions on debridement and treatment.
Imagine having the ability to see bacterial load in a wound. This is no longer a futuristic concept. Technology enables you to visualize what was previously invisible. This advantage streamlines the treatment process, reducing complications and promoting faster healing.
Enhancing Patient Outcomes
With technology, patient outcomes improve significantly. Faster diagnosis leads to quicker treatment, reducing the risk of prolonged infections. The ability to tailor treatments to specific wound needs ensures that patients receive the most effective care possible.
Patients often experience better recovery rates when precision diagnostics are part of their care plan. By addressing issues early, you can avoid complications. This proactive approach not only enhances healing but also improves overall quality of life for patients with chronic wounds.
Tools for Precision in Healing
Various tools are available to support precision in wound healing. These innovations are pivotal in providing accurate and timely information.
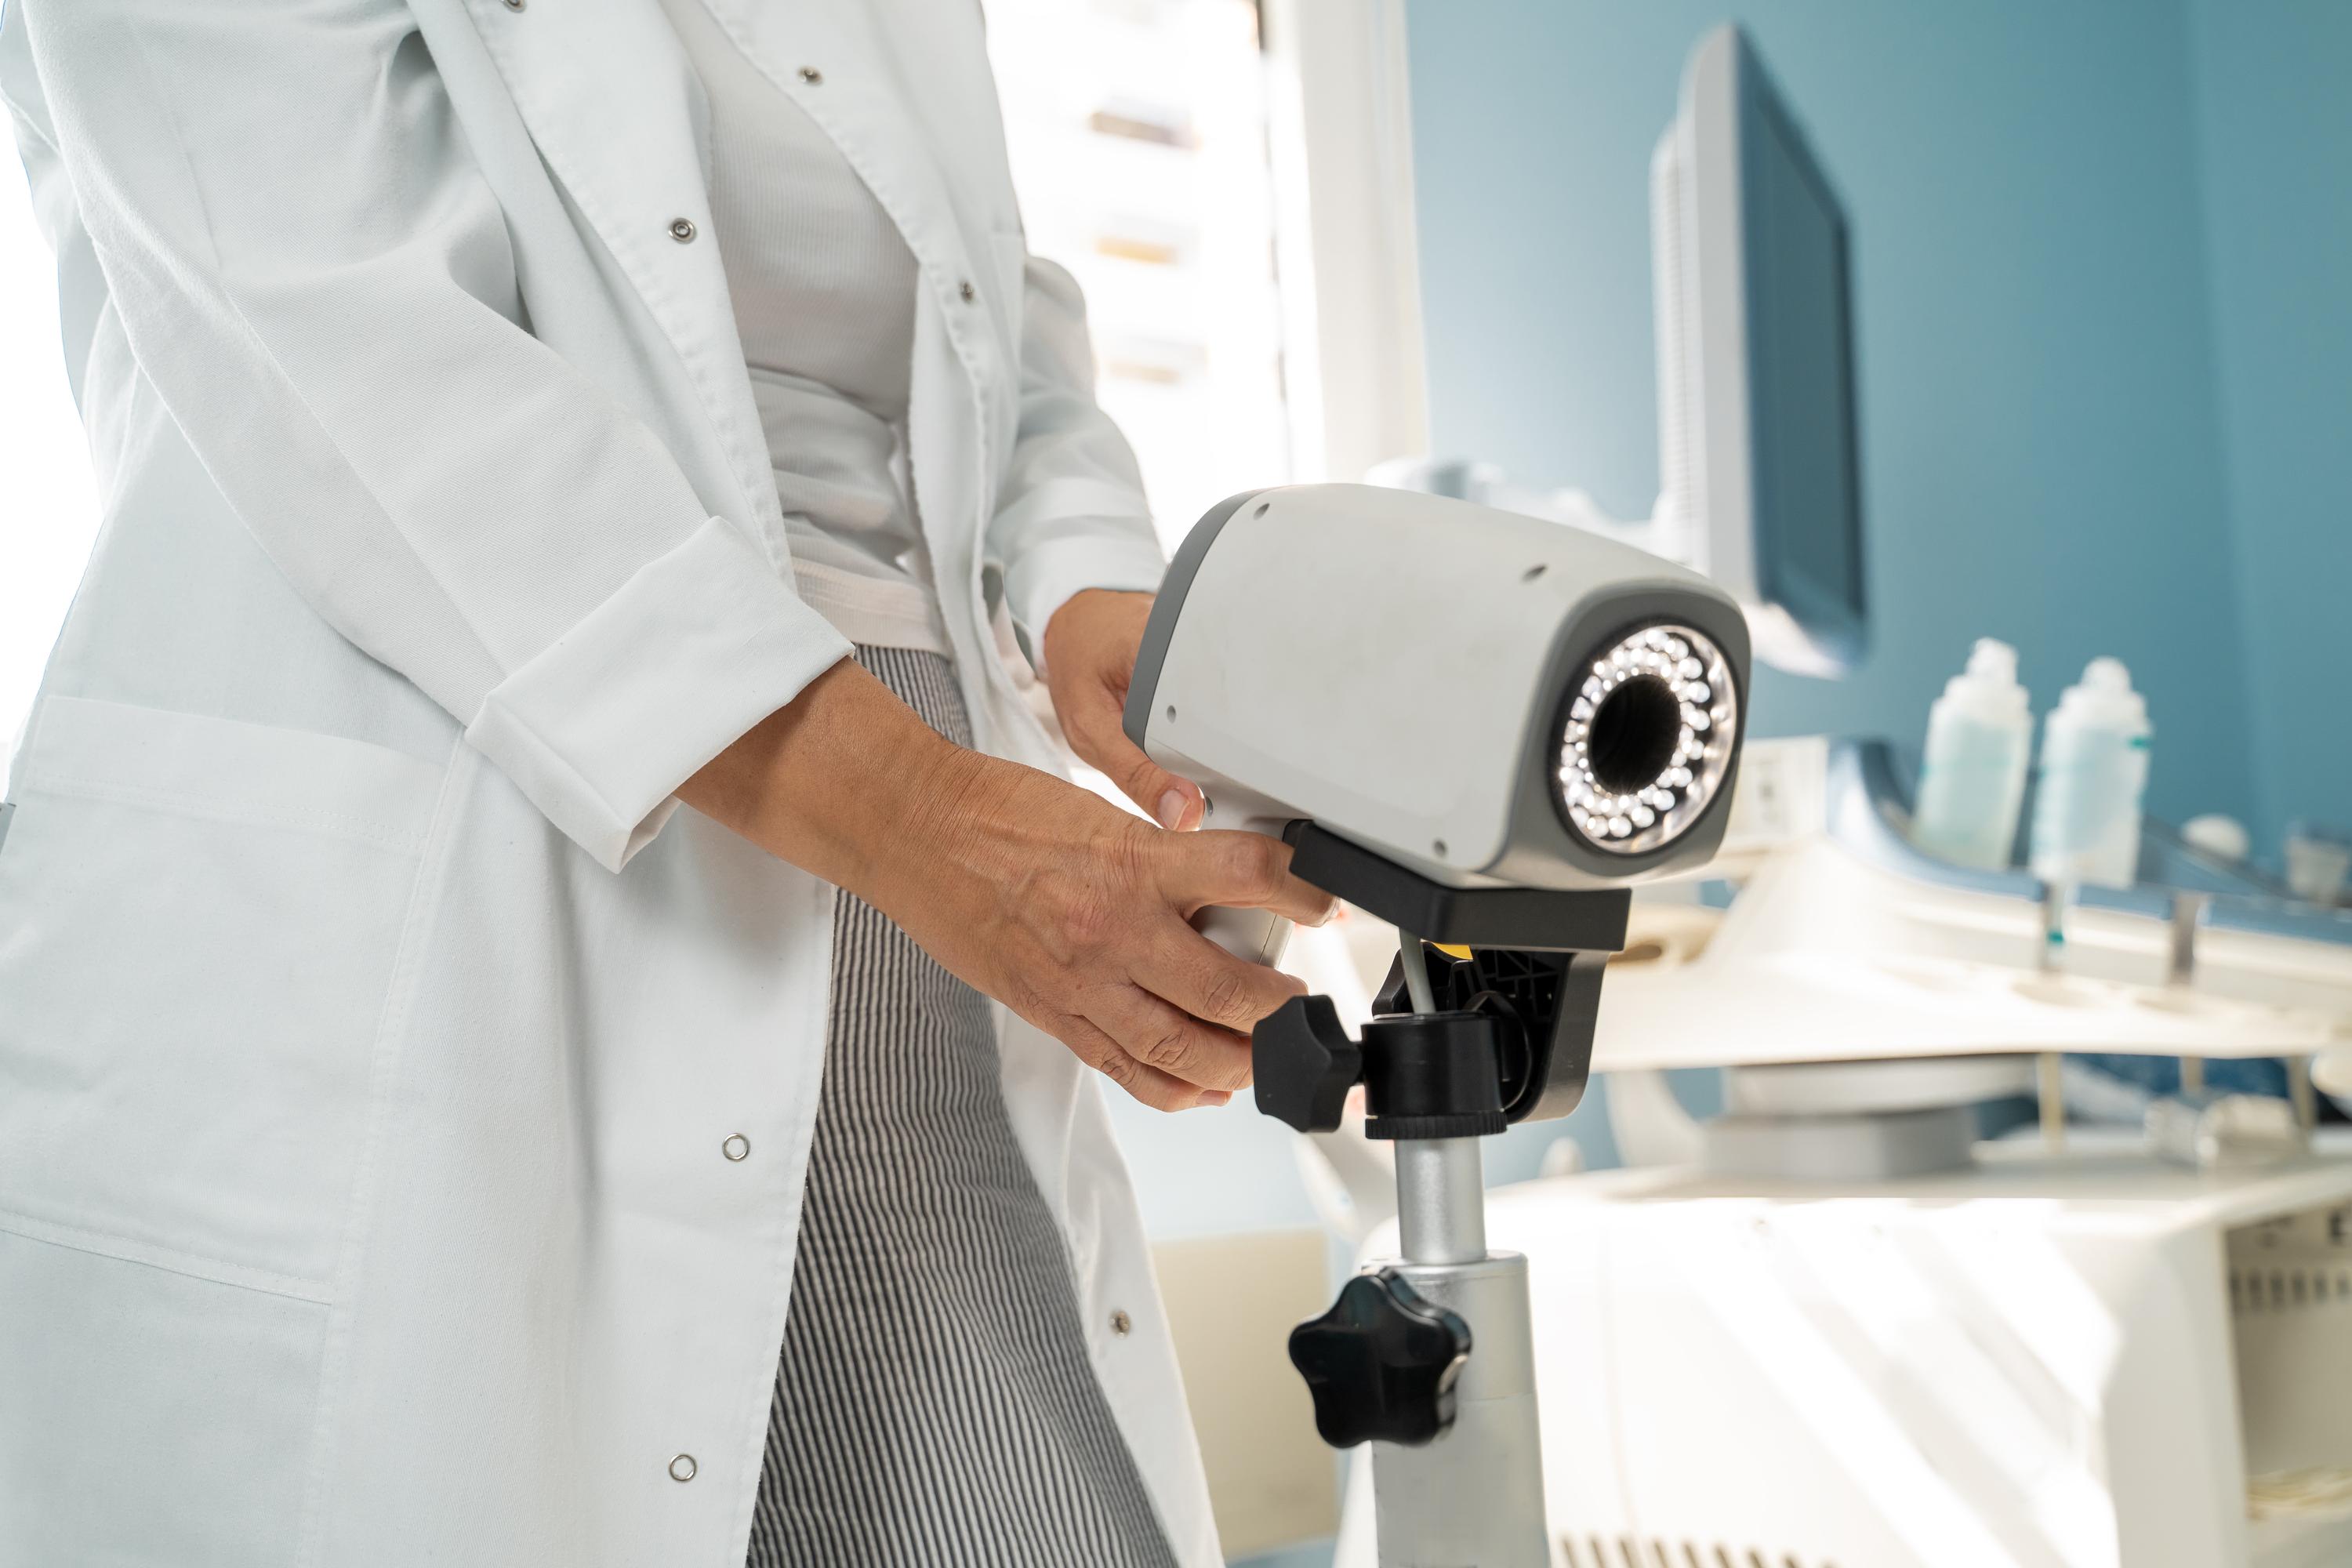
MolecuLight DX and Fluorescence Imaging
The MolecuLight DX is a powerful tool in wound care. It uses fluorescence imaging to detect bacterial presence. This allows you to see areas of high bacterial load, guiding your treatment decisions effectively. Learn more about its applications in this study.
With MolecuLight DX, you can capture digital images that aid in monitoring the wound’s progress. This feature simplifies documentation and helps in tracking changes over time. By identifying critical areas that need attention, clinicians can intervene at the right moment, enhancing healing outcomes.
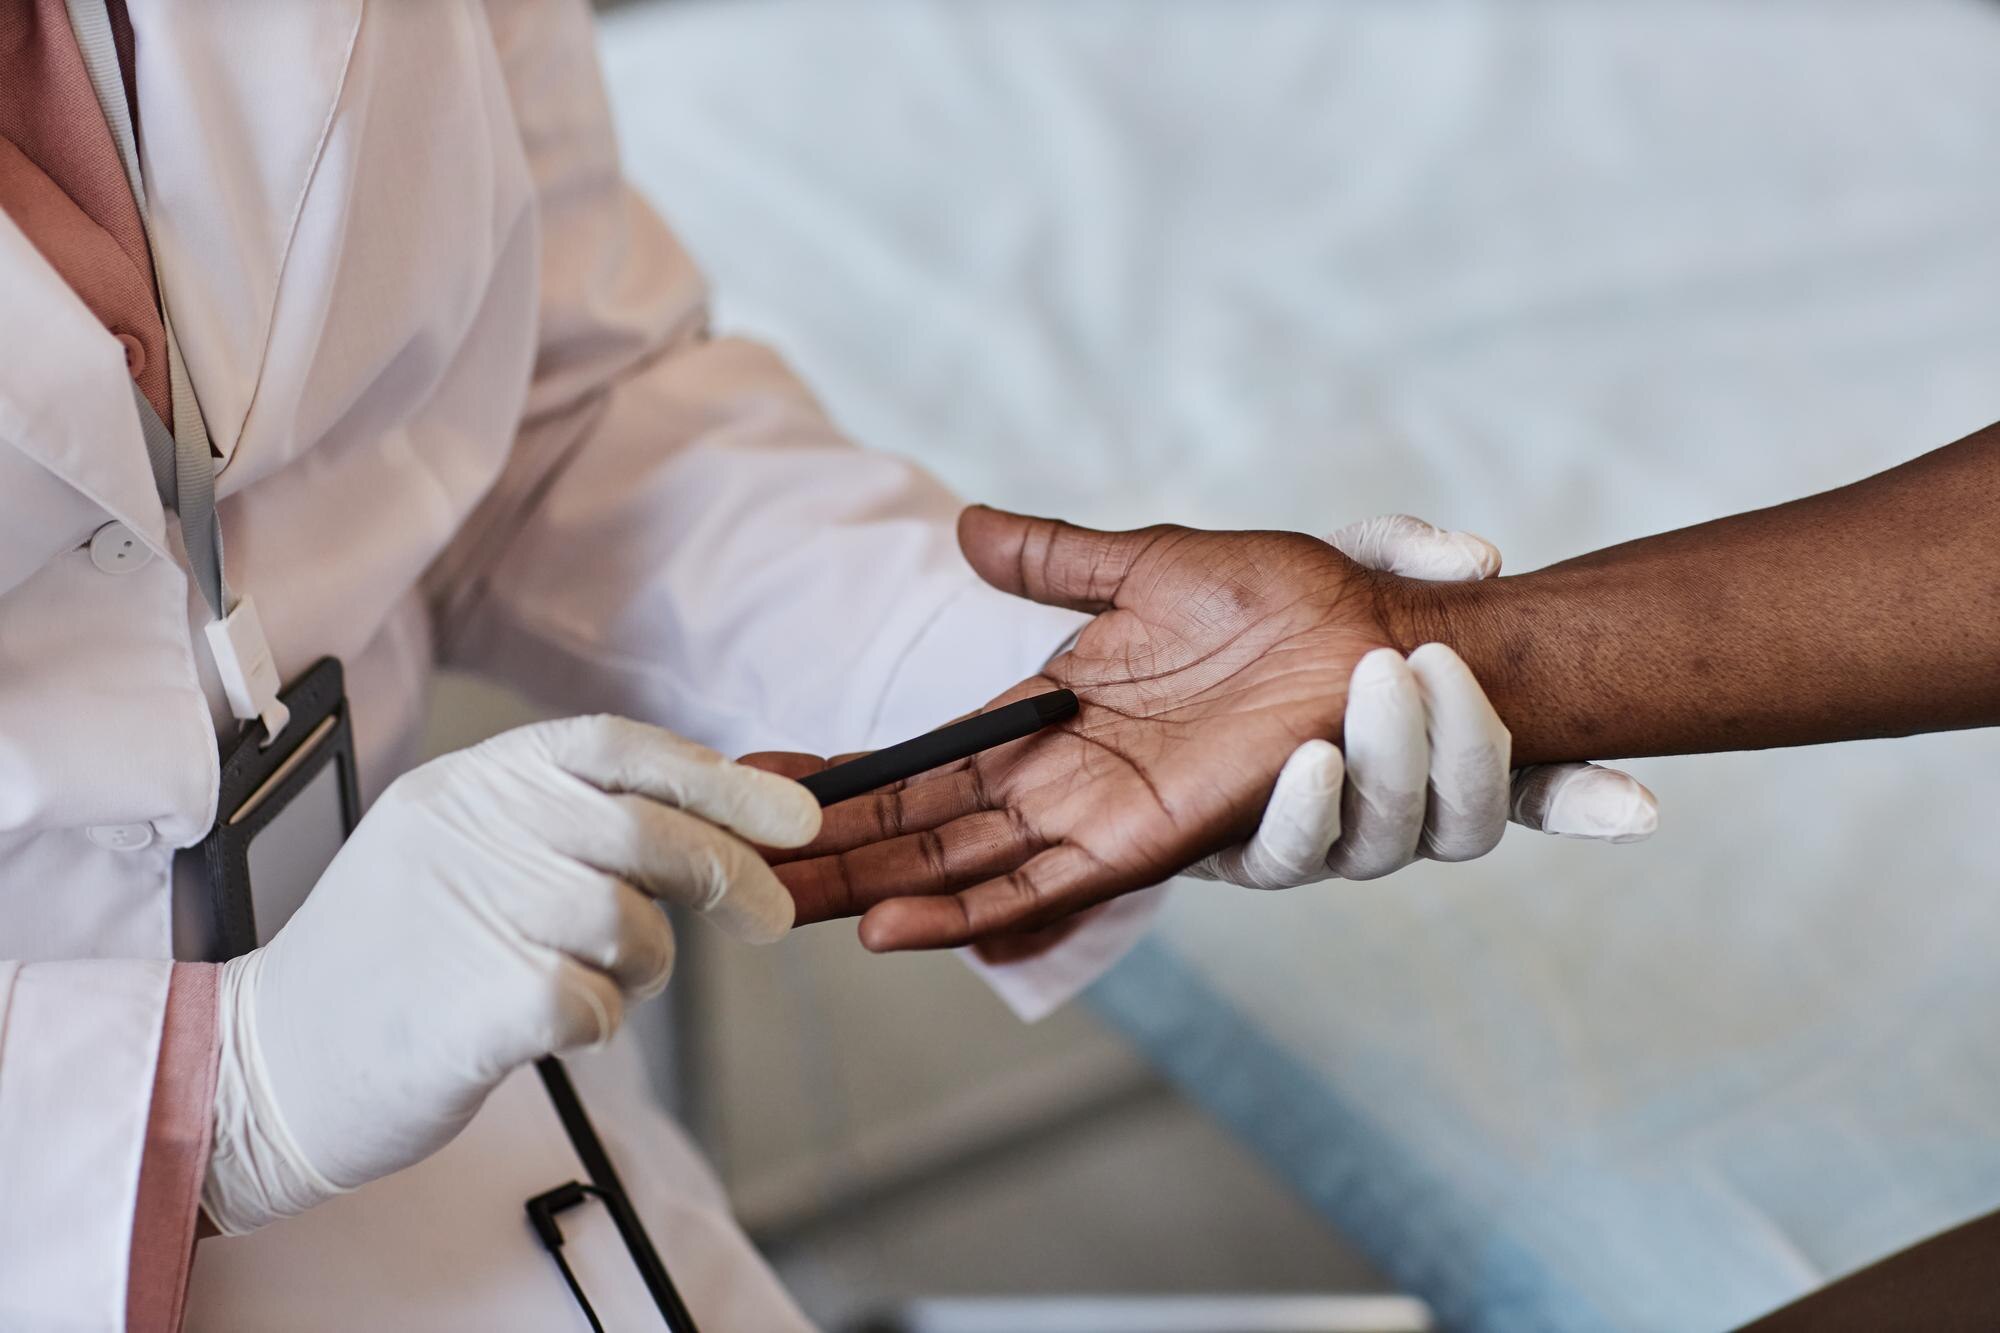
Pathogen Identification and Rapid Testing
Rapid testing methods are invaluable in identifying pathogens. These tests provide quick results, allowing treatment to commence sooner. Unlike traditional cultures, which can take weeks, rapid tests deliver answers in hours. This speed is crucial in preventing infections from getting worse.
Patients benefit from this swift approach as it minimizes the frustration of waiting. Rapid testing helps in selecting the right antibiotics, ensuring that the treatment is effective from the start. This efficiency supports better patient outcomes and faster recovery.
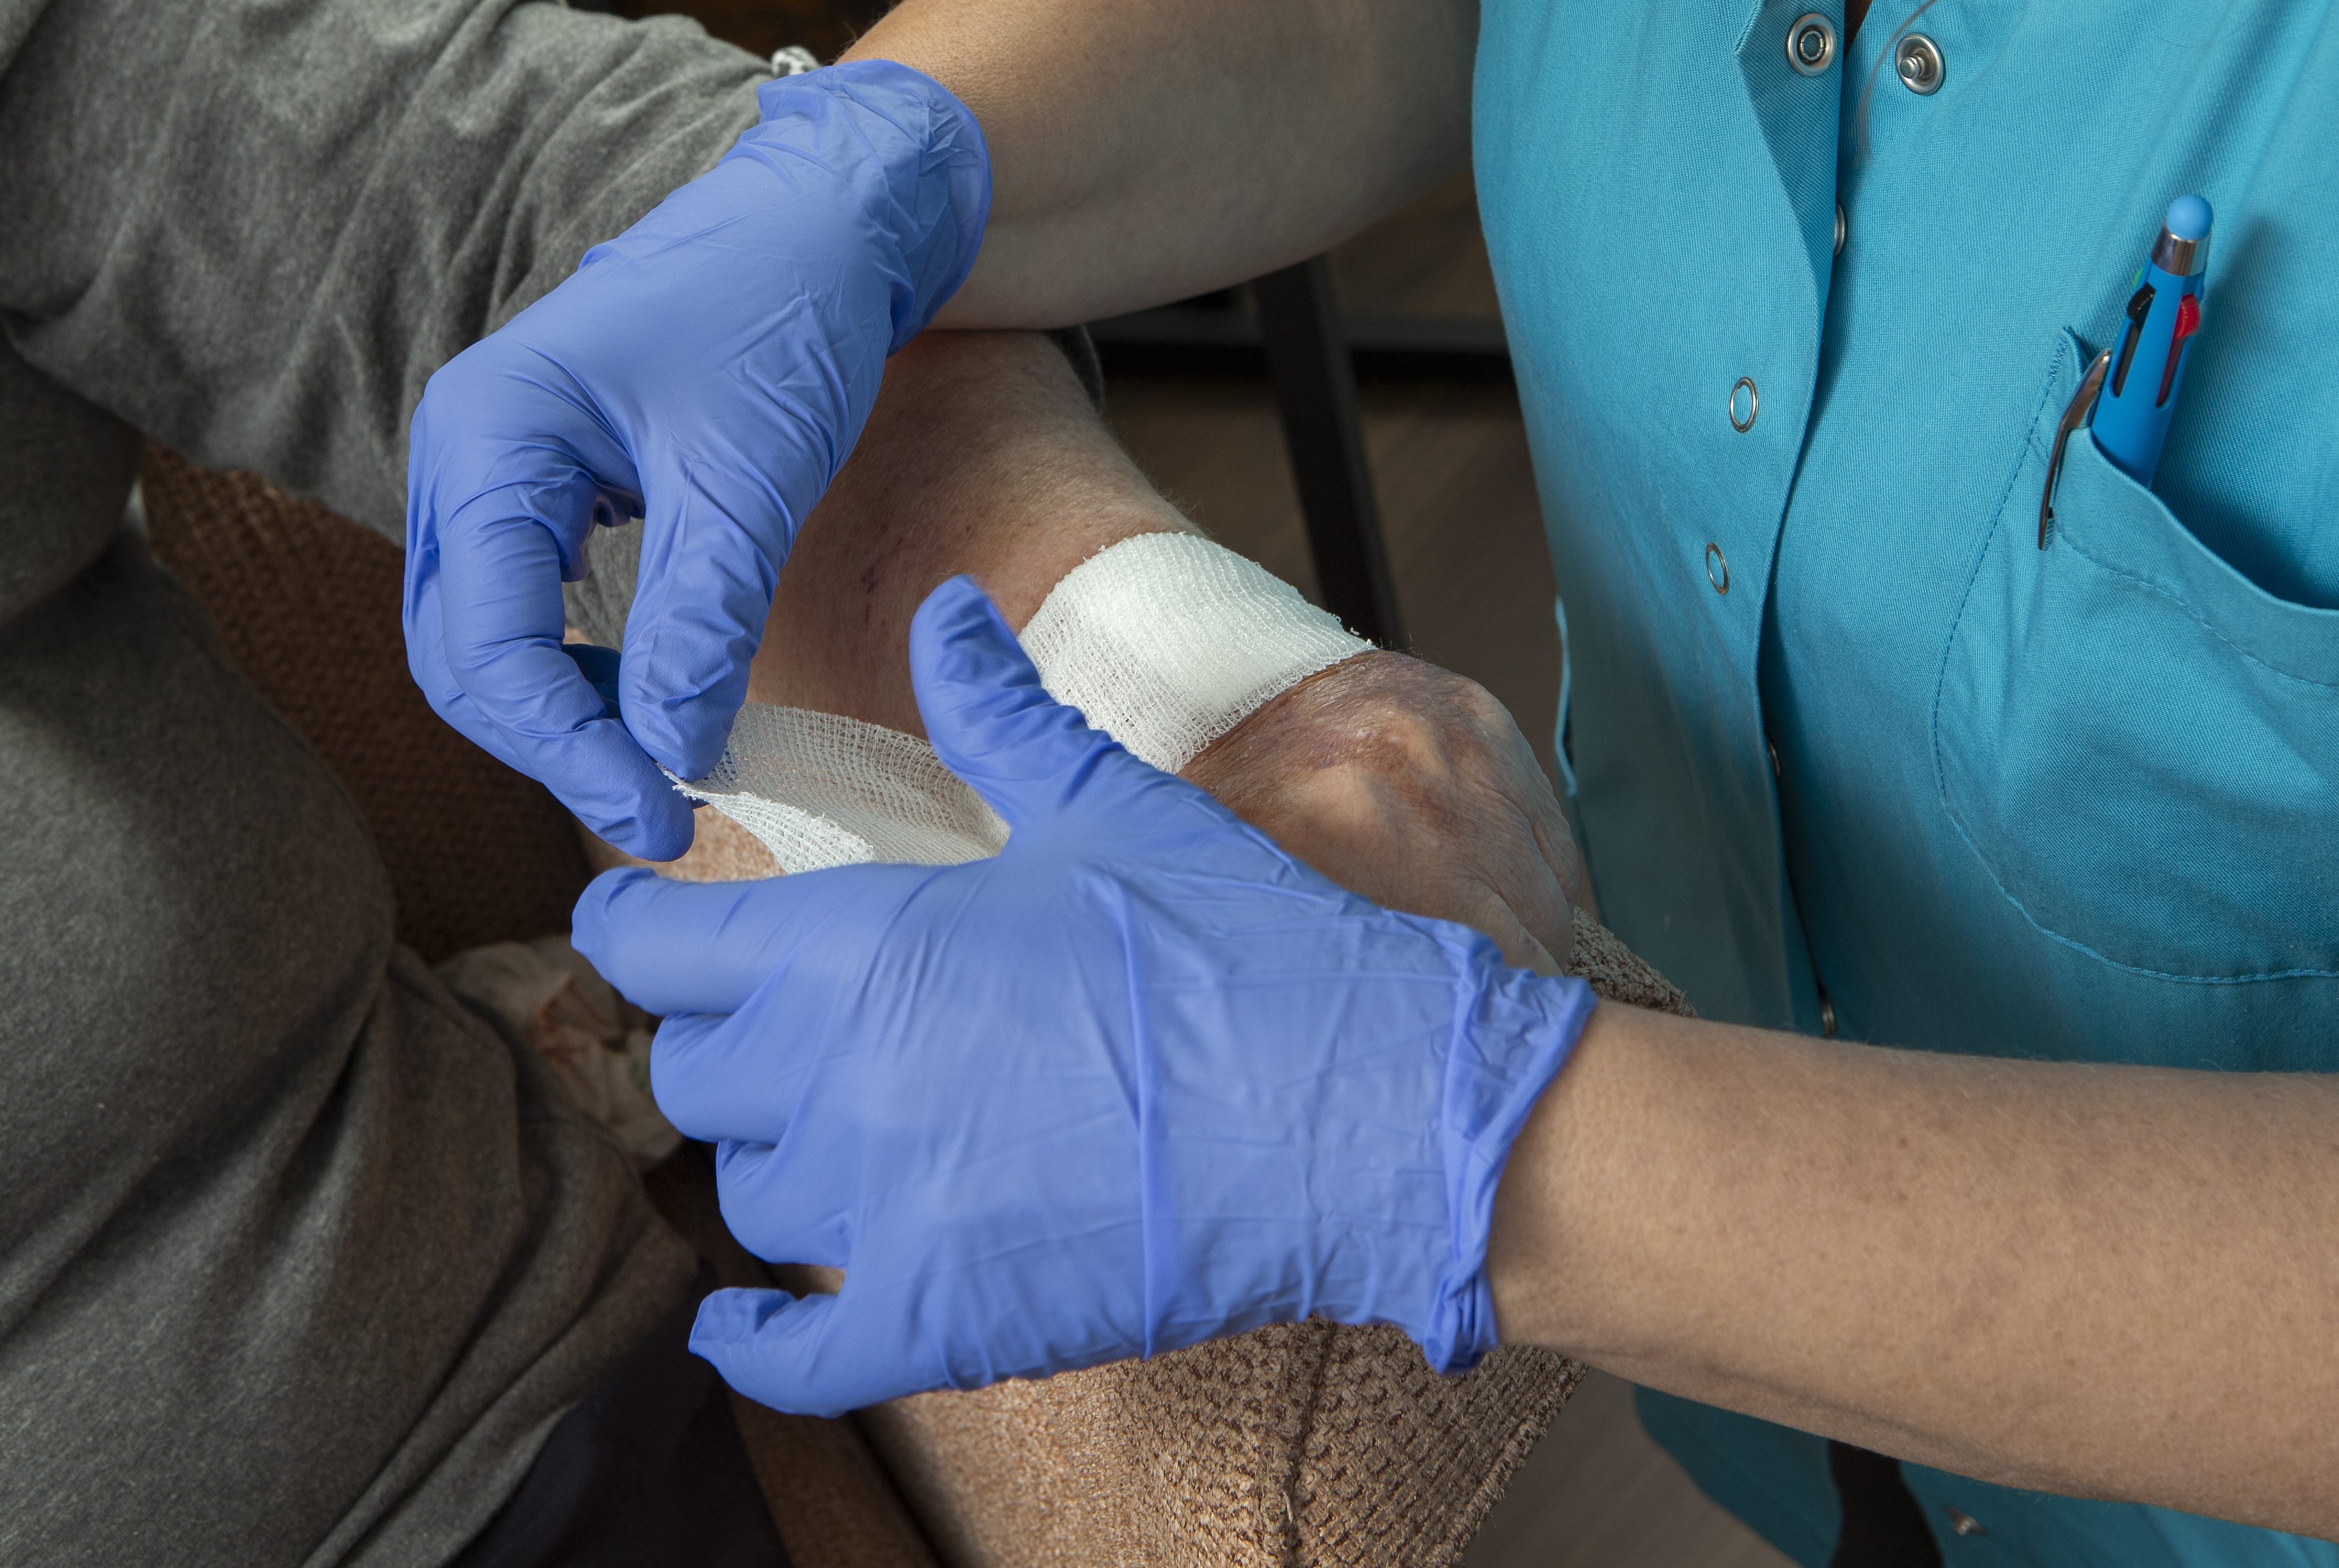
Triple-Layer Allograft for Wound Closure
The triple-layer allograft is a unique solution for wound closure. It acts as a scaffold, supporting natural tissue regeneration. This innovative treatment option is designed to enhance healing, particularly in difficult-to-treat wounds.
Its effectiveness is backed by compliance with strict FDA regulations. The allograft provides a protective barrier, promoting a conducive environment for healing. By integrating this into your wound care protocol, you can offer patients a robust solution for wound closure. Read more about its benefits in this research.
Future of Evidence-Based Wound Management
The future of wound care lies in evidence-based practices. By focusing on data and collaboration, the field continues to evolve.
Antibiotic Stewardship and Infection Control
Antibiotic stewardship is essential in managing infections effectively. By using antibiotics judiciously, you can prevent resistance and ensure that treatments remain effective. This approach is vital in controlling infections in complex wounds.
Implementing strict infection control measures is equally important. These practices protect patients and staff, reducing the spread of harmful pathogens. By prioritizing stewardship, you contribute to a safer healthcare environment.
Multidisciplinary Approach to Wound Care
A multidisciplinary approach brings together various expertise for comprehensive care. By collaborating with specialists, you can address all aspects of wound management. This teamwork ensures that patients receive holistic care, improving their overall treatment experience.
Such collaboration fosters innovation and enables sharing of best practices. The integration of different perspectives leads to more effective solutions, enhancing patient outcomes. For insights on this approach, check out this article.
Improving Documentation and Billing Practices
Accurate documentation is critical in wound care. It ensures that all information is captured for effective treatment planning. By improving documentation practices, you can streamline billing processes, ensuring that all services are accounted for.
This efficiency in billing helps avoid delays and errors, facilitating smoother operations. By focusing on these areas, you enhance the overall quality of wound care services, benefiting both providers and patients.
In conclusion, precision diagnostics are transforming wound care. By embracing these advancements, you can offer patients better, faster, and more reliable healing options.
See real success stories—schedule your consultation today.